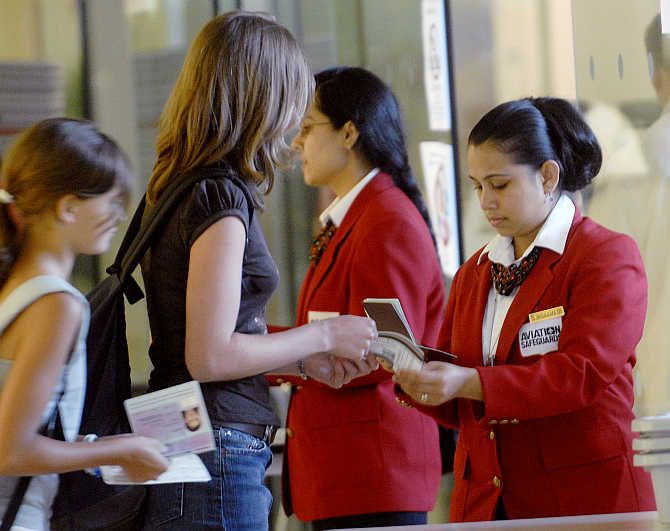
The immigration office expects you to keep all documents duly filled and ready and be confident throughout the interview.
Presenting a dummies' guide to cruise through the process successfully.
 A new dawn awaits you as fly to your dream study destination -- the US!
Whether your start is a roller coaster ride or a smooth sail will completely depend on your interaction with the very first person you will meet on arrival.
Well, you don’t have a choice.
Meeting this person, the officer from Customs and Border protection (CBP) is your unavoidable destiny.
This guy is highly skilled and knows his job quite well.
His first and foremost concern is security, and you may need to cool your heels at the airport for a while till he checks your name against many computers.
Try and understand things from immigration officer’s perspective.
For him, you are an alien and all that they trust are your documents.
Make sure that your answers to the questions asked by the immigration officer are in resonance with the ones you affirmed to the US Consular officer.
Any inconsistency in your answers can lead to gruelling interrogations.
We have put together the below-mentioned information to help you prepare for a smooth and stress-free immigration process.
1. Keep all documents ready
When you board your flight, you will be given a set of custom and immigration documents.
Please fill the customs declaration form before you enter customs and immigration facilities at the destination airport.
In the capacity of an F-1 student, you will not be permitted to enter the US earlier more than thirty days before your programme start date.
Please keep the below mentioned documents handy when you alight from your flight:
• Your passport (which should be valid up to at least six months from your date arrival to the US).
• I-20 from the university you are going to
• F-1 Visa
• SEVIS 1-901 fee payment receipt
• Documents supporting your sponsor’s financial capability to fund your education for your first year of studies.
2. Be confident
Right after you disembark from the plane at the port of entry, head straight towards international arrivals, immigration, and customs.
Try to look self-assured and be confident of your next step.
Apprehensive look on your face may raise suspicion from the immigration officer.
Be watchful of your every move and hold your horses.
Don’t give in to the temptation of clicking your first-ever selfie right after landing as it could lead to interrogation and confiscation of your cellphone.
3. Take note of the process
Upon entering the immigration facilities, walk up to the Passport Control/immigration counter and stand in the lane dedicated to foreign citizens.
Calmly handover your passport and immigration/custom forms to the officer on duty.
After validating your passports, the officer will declare your admission to the US by putting an entry stamp on your passport.
This stamp along with your visa, will act as a testimony to your legal status of a F-1 student in the US.
You will be entitled to stay in the US until the date mentioned on your visa.
Please note that Custom and Border Protection (CBP) has started an easier and paperless 1-94 process from April 2013 which does not require US visitors to fill Paper 1-94 form.
An online Arrival/Departure database is maintained at CBP website which records all information on legal visitor status and allows CBP to retrieve information of visitors from his/her electronic travel records.
In order to track entry and exit of visitors, CBP has also started US VISIT programme.
The Immigration officer on duty will take your digital photo along with your fingerprints.
The officer may ask you the questions pertaining to purpose of your visit, duration of your stay, place of accommodation, your course and may even ask for proof of financial capability of your sponsor to fund your education.
Apart from answering all these questions confidently, it is suggested that you keep all the relevant documents along with tickets and passport handy.
This will not only make the immigration process easy, but will also minimise delay at the airport.
5. Declare your baggage
Once you have cleared the passport control, move to the baggage claim section to collect your baggage and swiftly proceed to customs.
If you are carrying any stuff that needs to be declared, move to the red lane that reads 'Goods to Declare', else move to the green lane that says 'Nothing to Declare'.
Once you are done with customs clearance, you can take a big sigh of relief.
6. Do not be intimidated
After you move out of customs and immigration facilities, you will enter International Arrivals area.
Make sure you have made your ground transportation arrangements in advance.
Now you can quickly proceed to the university shuttles, cars or taxis prearranged for your local destination.
While you may feel intimidated by series of inspections and interrogations before you finally leave the airport, please understand that this immigration check is for safety and security of the country you are going to stay for a long time.
Lead image used for representational purposes only
Photograph: Chip East/Reuters

Collegepond is a career guidance company whose aim is to help students achieve their potential, crack the competitive exams and guide them in the application process for various courses across the globe.


